Mastering the Basics First
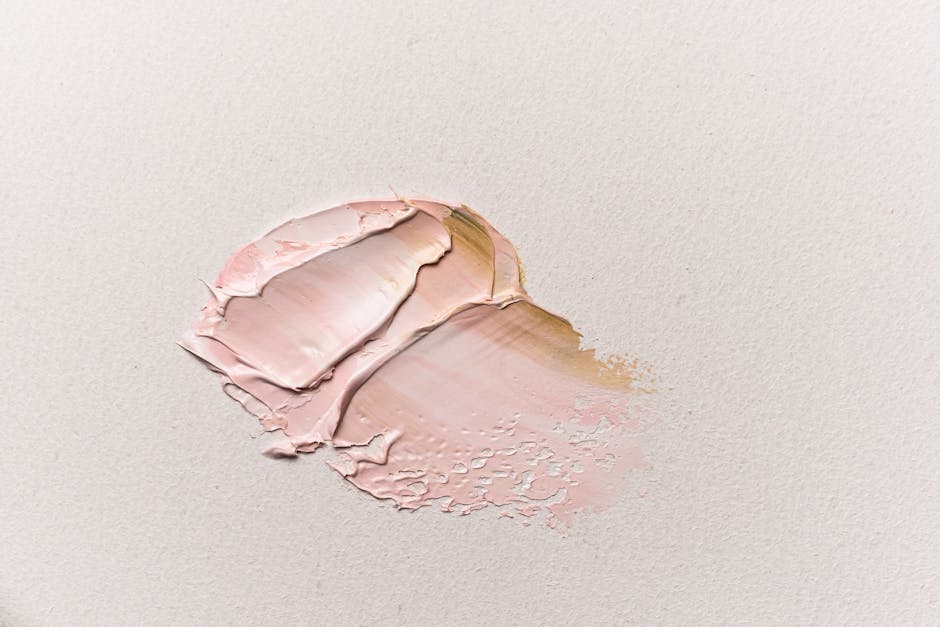
If there’s one game changing rule in acrylic painting, it’s this: layering isn’t optional it’s foundational. Acrylics dry fast and flat, which can make your work look lifeless if you’re not strategic. Compared to oils or watercolors, acrylics don’t naturally blend or soften over time. That forces the painter to build depth layer by layer. Done right, it creates light, shadow, and a sense of atmosphere that feels earned, not accidental.
Understanding layering comes down to two things: opacity and transparency. Every pigment has its own light behavior fingerprint. Transparent pigments let layers beneath shine through. Opaque ones block them out completely. Start with transparent washes to shape mood and tone. Then come in with opaque highlights or edges to control where the eye lands. It’s not just technique it’s physics.
Materials make or break this process. Not all acrylics are created equal. High flow or fluid acrylics are great for glazing and transparent layering. Heavy body paints are better for thicker, more textured applications. Gels and mediums add flexibility use gloss gel to extend drying time or matte medium to knock down shine. Don’t just grab the brightest tube you see. Pick tools that match your layering goals.
For a deeper dive into foundational acrylic methods, Explore this comprehensive acrylic painting guide. It’s worth bookmarking before your next brush hits the canvas.
Layering Techniques That Build Real Depth
Creating convincing depth with acrylics goes far beyond stacking paint. The techniques below are foundational to giving your work a dynamic, dimensional feel and they all build on how you control value, color, texture, and transparency layer by layer.
Underpainting: Set the Stage Early
Before adding any vibrant color or detail, laying down a monochromatic underpainting can act as your tonal blueprint.
Use one color (often a neutral) to map out light and shadow
Helps establish mood and composition without distraction
Offers a value structure that guides later color layers
This step isn’t always visible in the final painting, but its influence carries through every layer.
Glazing: Build Color with Transparency
Glazing involves layering thin, transparent washes of color over dried layers to subtly shift hue, temperature, or light.
Use glazing mediums to thin your paint without sacrificing vibrancy
Ideal for enhancing luminosity or adjusting tonal balance
Best applied in multiple layers, drying fully between each pass
Glazing is where you breathe ethereal quality into elements like skies, skin tones, or reflections.
Scumbling: Add Texture and Soft Diffusion
Where glazing relies on smooth transparency, scumbling introduces gentle abrasion.
Use a dry brush with minimal paint and light pressure
Apply over textured or colored surfaces for a hazy, soft focus effect
Creates contrast between matte and glossy layers
Scumbling is great for atmospheric depth or adding tactile variety without overwhelming detail.
Contrast Through Edges: Hard vs. Soft
Depth isn’t just built on color it’s also built on contrast between types of edges.
Hard edges create immediate focus and suggest proximity
Soft edges feel more distant, blending into the background
Use both intentionally:
Place sharper edges at your focal point to draw the viewer in
Let distant elements dissolve into softer forms to suggest space
The thoughtful use of edge contrast allows you to anchor your subject while still giving your background air and distance.
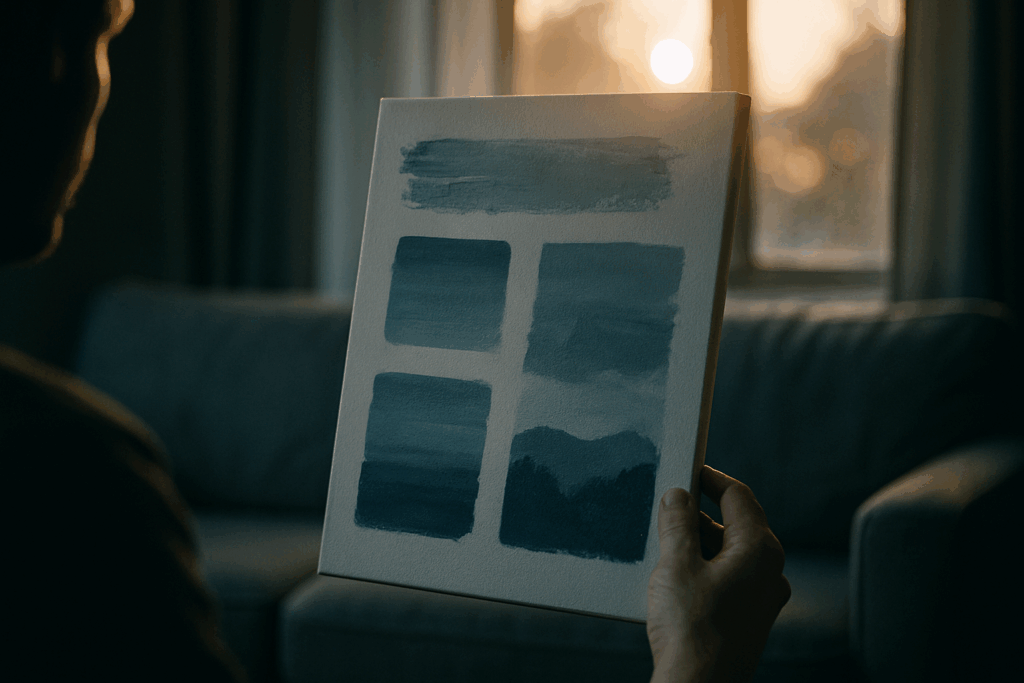
Controlling Color and Light

Depth in acrylic painting isn’t just about form it’s about how color and light interact across layers. Getting this right means understanding how temperature, placement, and contrast work together.
Start with warm vs. cool layering. Warm colors (reds, oranges, yellows) tend to come forward. Cool colors (blues, greens, violets) naturally recede. That’s why a warm toned foreground against a cool background gives the illusion of depth even on a flat canvas. It’s not a new trick, but when used intentionally, it still hits hard.
Then there’s energy. Using complementary color shifts blue and orange, purple and yellow, red and green adds instant vibrancy. It’s especially effective in transitional areas where light meets shadow or where focal points need to pop. Keep it under control though. Too much contrast across the whole piece, and depth gets lost in noise.
When building up your shadows, avoid going straight to black. Pure black tends to kill dimension. Instead, mix dark purples, deep greens, or cool reds colors that still carry character. You get shadow that reads as shadow, without looking flat or dead.
Finally, your light source matters. Every decision about where to lighten, darken, or shift color should trace back to it. Know where your light’s coming from, and build layers to back that up. Highlights should stack toward it, shadows should bend away. That consistency anchors your illusion of space and keeps the viewer in your world.
Control the temperature, respect the source, and build shadows with color. That’s how you layer for real depth.
Dry Time and Patience
Acrylics dry fast. That’s a headache if you fight it but a major advantage if you learn to use it. Fast dry time means you can layer quickly, make corrections without long waits, and avoid the kind of overblending that muddies a piece. But it also means you have to plan your moves. Work too slow, and the paint won’t move. Work too fast in the wrong layer, and you’ve got smears and broken transitions.
Knowing when to work wet in wet is key. If you’re blending backgrounds or creating soft gradients (like a sky), you want to work into wet paint while it’s still open. Act quick few minutes, tops. For sharper lines or defined layers like details, edges, or anything that should pop let the layer dry completely. This gives you clean separation without color collapse.
To avoid muddy colors, don’t overload your brush. Clean it often. Use a dry or lightly damp brush for controlled applications. And when in doubt, pause. Let a layer cure before adding more. Acrylic rewards patience and speed but only when you know which to use when.
Tools Beyond the Brush
When you’re ready to move past basic brushwork, your toolkit needs to expand. Texture isn’t just a surface effect it’s structural. Palette knives are a go to for this. Whether you’re laying thick highlights, carving in contrast, or pulling paint across the canvas to reveal underlayers, they force bold decisions. No dithering, no detail fuss. Just clean, intentional form.
Then there are the wildcard tools: sponges, squeegees, even old credit cards. These work best in layered builds where randomness adds realism. A sponge dabbed in semi dry paint can create organic depth that brushes rarely nail. A squeegee can drag color into motion, revealing parts of the layer beneath and setting up dynamic contrast.
Glazing mediums and texture pastes? These transform how light and layering interact. Glazing mediums let transparent color sit on top rather than soak in, creating that hovering effect of depth you just can’t fake. Texture paste builds terrain literally. Add it beneath a sheer glaze, and your canvas starts feeling like it breathes.
None of these tools mean much if you’re not willing to push them. That’s where the depth lives in the tension between control and chaos.
Pulling It All Together
Before you pick up a brush, step back and plan your layer structure. Know where your lights will fall, where your focal points need to hit, and which areas should recede. A loose sketch and a few notes can keep you from guessing halfway through the painting. Treat the layers like stages of a build foundation first, then structure, then detail.
Two big pitfalls trip up most acrylic painters: overblending and flattened values. Overblending is when too many strokes kill the texture and make everything feel muddy. The fix? Let a layer dry completely before you mess with it. Keep your strokes intentional, not fussy. Flat values happen when everything feels the same distance from the viewer. To fix that, push contrast between foreground and background, and layer with stronger darks or highlights where needed.
This isn’t just about technique. It’s about creating believable space that draws viewers in and holds them there.
Check out this acrylic painting guide to keep refining your technique.
 Lacy Cisnerosity is the kind of writer who genuinely cannot publish something without checking it twice. Maybe three times. They came to art gallery highlights through years of hands-on work rather than theory, which means the things they writes about — Art Gallery Highlights, Creative Process Insights, Painting Techniques and Tutorials, among other areas — are things they has actually tested, questioned, and revised opinions on more than once.
That shows in the work. Lacy's pieces tend to go a level deeper than most. Not in a way that becomes unreadable, but in a way that makes you realize you'd been missing something important. They has a habit of finding the detail that everybody else glosses over and making it the center of the story — which sounds simple, but takes a rare combination of curiosity and patience to pull off consistently. The writing never feels rushed. It feels like someone who sat with the subject long enough to actually understand it.
Outside of specific topics, what Lacy cares about most is whether the reader walks away with something useful. Not impressed. Not entertained. Useful. That's a harder bar to clear than it sounds, and they clears it more often than not — which is why readers tend to remember Lacy's articles long after they've forgotten the headline.
Lacy Cisnerosity is the kind of writer who genuinely cannot publish something without checking it twice. Maybe three times. They came to art gallery highlights through years of hands-on work rather than theory, which means the things they writes about — Art Gallery Highlights, Creative Process Insights, Painting Techniques and Tutorials, among other areas — are things they has actually tested, questioned, and revised opinions on more than once.
That shows in the work. Lacy's pieces tend to go a level deeper than most. Not in a way that becomes unreadable, but in a way that makes you realize you'd been missing something important. They has a habit of finding the detail that everybody else glosses over and making it the center of the story — which sounds simple, but takes a rare combination of curiosity and patience to pull off consistently. The writing never feels rushed. It feels like someone who sat with the subject long enough to actually understand it.
Outside of specific topics, what Lacy cares about most is whether the reader walks away with something useful. Not impressed. Not entertained. Useful. That's a harder bar to clear than it sounds, and they clears it more often than not — which is why readers tend to remember Lacy's articles long after they've forgotten the headline.