Flat Wash: Clean and Controlled
Flat washes are the backbone of watercolor painting. This technique is all about applying one consistent tone across the whole area of your paper. No color variation, no fancy gradients just a smooth, even layer. It’s straightforward and highly usable, especially when laying in skies, muted backgrounds, or a solid base for underpainting.
The key to a good flat wash is control, not speed. Load your brush with enough color and water to cover the area without needing to stop and reload halfway through. Use horizontal strokes, overlapping slightly with each pass to eliminate gaps. Streaks and backruns? Usually caused by stopping too long or using a brush that’s too small. Once you lift your brush, keep moving. Don’t hesitate.
Pro tip: grab a large, soft brush, and tilt your paper slightly gravity helps the wash flow downward evenly. Work quickly but with intent. Once the wash is down, step back. Let it dry. No fiddling.
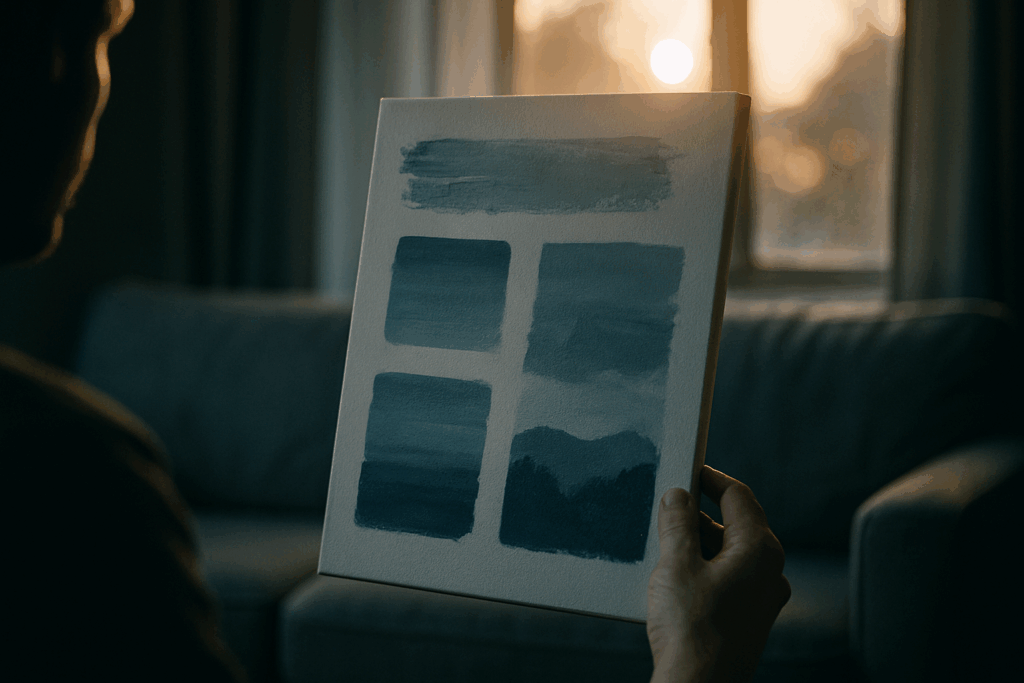
Graded Wash: Smooth Shifts in Tone
A graded wash creates a subtle transition from dark to light or pigment rich to pigment light areas on your watercolor surface. This technique is ideal for creating realistic lighting, atmospheric depth, or a sense of distance in your work.
What Is a Graded Wash?
A graded wash is a continuous transition of tone or color across a surface. Unlike flat washes, graded washes offer a gradual shift:
From dark to light using a single pigment
From pure color to water for a natural fade
Between two values of the same hue
Why Use a Graded Wash?
Graded washes are especially useful for:
Lighting effects simulate sunlight or glow
Depth and distance build foreground to background contrast
Atmosphere soften transitions and build mood
Technique Breakdown
To master the graded wash, focus on these key factors:
1. Pigment Load
Start with a fully loaded brush for the darkest area
Reduce pigment as you move down the paper (add water to your brush)
2. Brush Pressure and Control
Use steady, overlapping horizontal strokes
Lighten pressure and increase water gradually
Maintain a wet edge to avoid harsh lines
3. Tilt and Timing
Tilt your paper slightly to encourage a smooth flow downward
Work quickly before the paper dries to prevent streaks
Quick Tips
Practice on scrap paper before using this technique in a final piece
Use high quality paper with good wet strength
Work from top to bottom to take advantage of gravity
Graded washes may seem deceptively simple, but they take patience and finesse to master. With consistent practice, they can add depth and nuance to even the most minimal compositions.
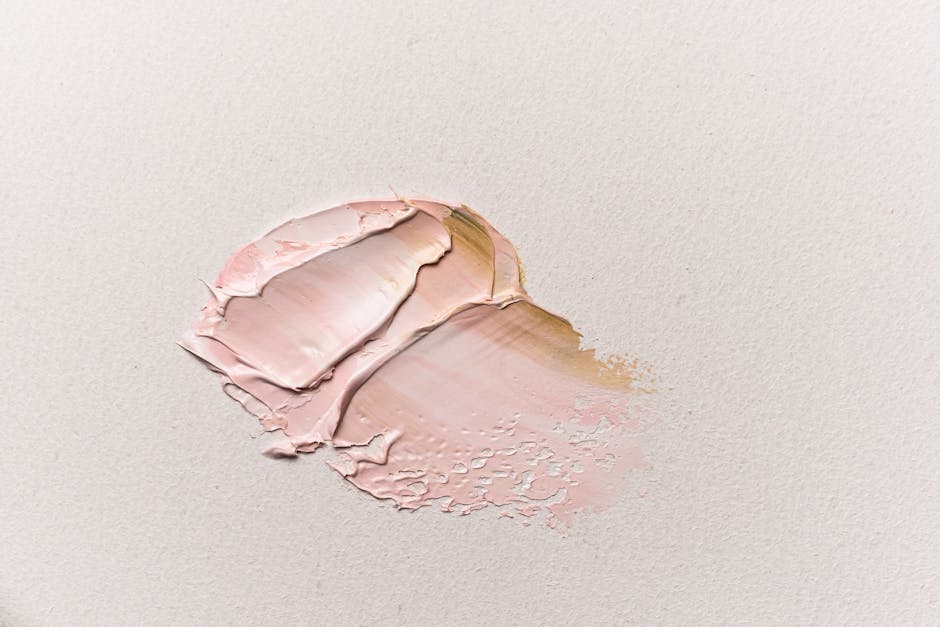
Variegated Wash: Blending Multiple Colors
Creating a variegated wash is all about gracefully blending two or more colors into one continuous, wet area. This method adds visual interest and depth, often producing effects that are impossible to achieve with flat or graded washes alone.
What Is a Variegated Wash?
A variegated wash involves applying multiple pigments while the paper is still wet, allowing them to merge and transition organically. Unlike a graded wash, it’s not just a shift in tone but also in hue.
Where to Use It
This technique shines when you’re painting:
Vibrant skies with changing colors (e.g., sunrise or sunset)
Reflections in water, where natural blending occurs
Botanical elements like petals or leaves with subtle color shifts
Textures in rocks, landscapes, or abstract backgrounds
How to Do It Right
To master the variegated wash, timing and preparation are crucial:
Pre wet the paper evenly with clean water.
Load multiple brushes with your chosen colors to speed up application.
Apply colors side by side in one wet area and allow them to meet and mingle naturally.
Tilt the paper slightly to guide the flow and blending direction.
Avoid overworking let the pigments interact on their own.
Pro Tip: The magic happens while the paper is wet but not soaked. Paper that’s too wet will overblend; too dry, and the edges won’t soften.
Avoiding Common Mistakes
Work quickly but calmly before the paper starts drying.
Don’t overload with water it dilutes pigment control.
Resist brushing over blended areas too much it muddies the colors.
Variegated washes reward confident brushwork and a good sense of timing. If you embrace a bit of unpredictability, this technique can elevate your watercolor work in exciting ways.
Wet on Wet Wash: Soft, Organic Effects

This is the technique where spontaneity meets control barely. Wet on wet begins with damp paper and diluted pigment. Drop color onto the moistened surface and watch as it spreads, bleeds, and blends in its own unpredictable way. It’s not chaos it’s chemistry, and it’s one of watercolor’s most expressive moves.
Use this method for softer subjects: florals with fading petals, overcast skies, dreamy backgrounds. You’re not painting in lines here you’re suggesting form through movement and flow.
The trick? Water ratio. Too much and the pigment floods everywhere. Too little and it just sits there awkwardly. Aim for even dampness across the surface and load your brush with enough pigment to make an impression without drowning the paper. Control starts with preparation. After that, you let the medium do its thing.
Dry on Wet Wash: Detailed, Fluid Contrasts
When you want softness without losing structure, the dry on wet wash is your go to. This technique blends the expressive flow of watercolor with the control needed for definition and detail.
What Is a Dry on Wet Wash?
Dry on wet involves applying semi dry brush strokes onto damp paper. Unlike fully wet on wet methods, this approach allows you to introduce texture and edge definition while still enjoying the spontaneous feel of watercolor.
Why Use It?
Controlled spontaneity: You’ll get a gentle bloom from the pigment, but with more guidance than wet on wet can offer.
Edge variety: The results include a mix of soft edges and slight definition perfect for textured subjects.
Ideal for textural effects: Great for rocks, moss, tree bark, or hair where you need a hint of diffusion without losing form.
Tips for Success
Brush moisture matters: Your brush should be damp but not dripping. Blot on a paper towel before applying.
Monitor timing: The paper should still shine slightly if it’s too wet, you’ll lose all edge control; too dry, and the pigment won’t spread.
Layer intentionally: This technique works well mid or late stage in a painting, where forms are established and you’re adding visual interest.
Dry on wet is a subtle but powerful method for creating contrast, visual depth, and painterly textures all in one stroke.
Lifting and Layering: Beyond the First Wash
Watercolor isn’t just about what you put on the page it’s also about what you take off. Lifting pigment can be a powerful way to correct mistakes, build highlights, or soften an area. Use a clean, damp brush to pull color off gently, or dab with a paper towel while the paint is still wet for a softer lift. Timing matters. If the pigment has already dried, you’ll need to re wet the area briefly before lifting.
Once you’ve laid down a wash, you’re not done. Transparent layering adds depth and vibrancy to your work without bulking things up. Always wait for a layer to dry completely before adding the next. Patience keeps your colors clean. Rushing leads to mud.
Glazing layering a thin, transparent wash over dry paint requires a light touch. Think of it like tinting glass. It can shift temperature, enhance shadow, or unify a section of the composition. The trick is minimal water, minimal pressure. And always test a small spot before committing to a large area.
Mastering these techniques means you’re not just painting you’re sculpting with pigment, light, and time.
Putting It All Together
Once you’ve got a handle on different wash techniques, the real magic happens when you begin combining them. Creating dynamic watercolor compositions is all about knowing when to switch methods and how to layer them for maximum effect.
Mix Techniques for Impact
Experimenting with combinations helps create depth, interest, and atmosphere in your artwork. Here are a few tried and true ways to mix washes:
Flat + Graded Washes: Use a flat wash for the sky and a graded wash for the foreground to imply distance and depth.
Variegated + Wet on Wet: Blend colors seamlessly in the background, then add definition with subtle wet on wet shapes.
Dry on Wet + Lifting: Add texture by painting on damp paper, then lift out highlights or patterns while it’s still wet.
Match Technique to Subject and Style
Each wash technique has its strengths choosing the right one depends on what you’re painting:
Flat Wash: Great for uniform backgrounds like skies or walls.
Graded Wash: Use in landscapes to show depth or a fading light source.
Variegated Wash: Perfect for sunsets, reflections, or complex skies.
Wet on Wet: Go to for loose, soft subjects like clouds or florals.
Dry on Wet: Ideal for adding texture to trees, rocks, or fabric.
Lifting and Layering: Essential when building form, light, and dimension through multiple passages.
Continue Learning and Exploring
Don’t stop at one technique use your sketchbook as a space to try combinations, time your washes, and refine your control.
For more techniques, examples, and skill building tips, explore our artist technique posts.
Keep Practicing
Mastery in watercolor isn’t achieved overnight especially when it comes to washes. Building consistency and control comes through regular, intentional practice. The more familiar your hand becomes, the more confident your strokes will feel.
Strengthen Your Wash Technique
Repetition helps develop muscle memory and workflow judgment
Experiment with how water, pigment, and paper interact under different conditions
Gradually push the boundaries of each technique to better understand their potential
Use a Sketchbook as a Testing Ground
Before applying a new wash technique to a final artwork, test it out in a sketchbook. This helps avoid surprises and builds intuition for:
Color mixing results when layering washes
Timing the transition between wet and dry for specific effects
How techniques respond on different paper types
Keep Learning from Other Artists
Your growth doesn’t have to be solo. Explore structured breakdowns and shared experiences from other creators to stay inspired and informed:
Browse our curated artist technique posts for more tutorials and walkthroughs
Study how professionals combine wash types to create depth, movement, and emotion
Each session with your brush adds to your fluency as a watercolor artist keep experimenting, observing, and refining.
 Ask Paullino Rhodesons how they got into painting techniques and tutorials and you'll probably get a longer answer than you expected. The short version: Paullino started doing it, got genuinely hooked, and at some point realized they had accumulated enough hard-won knowledge that it would be a waste not to share it. So they started writing.
What makes Paullino worth reading is that they skips the obvious stuff. Nobody needs another surface-level take on Painting Techniques and Tutorials, Creative Process Insights, Artist Features and Interviews. What readers actually want is the nuance — the part that only becomes clear after you've made a few mistakes and figured out why. That's the territory Paullino operates in. The writing is direct, occasionally blunt, and always built around what's actually true rather than what sounds good in an article. They has little patience for filler, which means they's pieces tend to be denser with real information than the average post on the same subject.
Paullino doesn't write to impress anyone. They writes because they has things to say that they genuinely thinks people should hear. That motivation — basic as it sounds — produces something noticeably different from content written for clicks or word count. Readers pick up on it. The comments on Paullino's work tend to reflect that.
Ask Paullino Rhodesons how they got into painting techniques and tutorials and you'll probably get a longer answer than you expected. The short version: Paullino started doing it, got genuinely hooked, and at some point realized they had accumulated enough hard-won knowledge that it would be a waste not to share it. So they started writing.
What makes Paullino worth reading is that they skips the obvious stuff. Nobody needs another surface-level take on Painting Techniques and Tutorials, Creative Process Insights, Artist Features and Interviews. What readers actually want is the nuance — the part that only becomes clear after you've made a few mistakes and figured out why. That's the territory Paullino operates in. The writing is direct, occasionally blunt, and always built around what's actually true rather than what sounds good in an article. They has little patience for filler, which means they's pieces tend to be denser with real information than the average post on the same subject.
Paullino doesn't write to impress anyone. They writes because they has things to say that they genuinely thinks people should hear. That motivation — basic as it sounds — produces something noticeably different from content written for clicks or word count. Readers pick up on it. The comments on Paullino's work tend to reflect that.